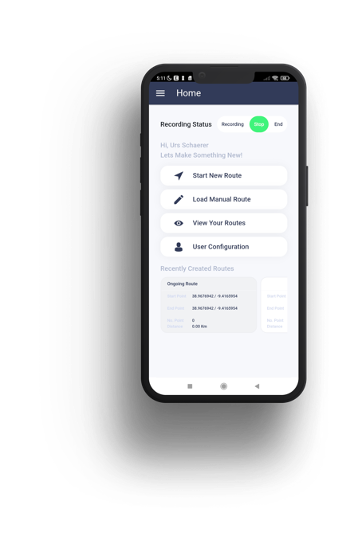
Where ever you go
At your fingertips
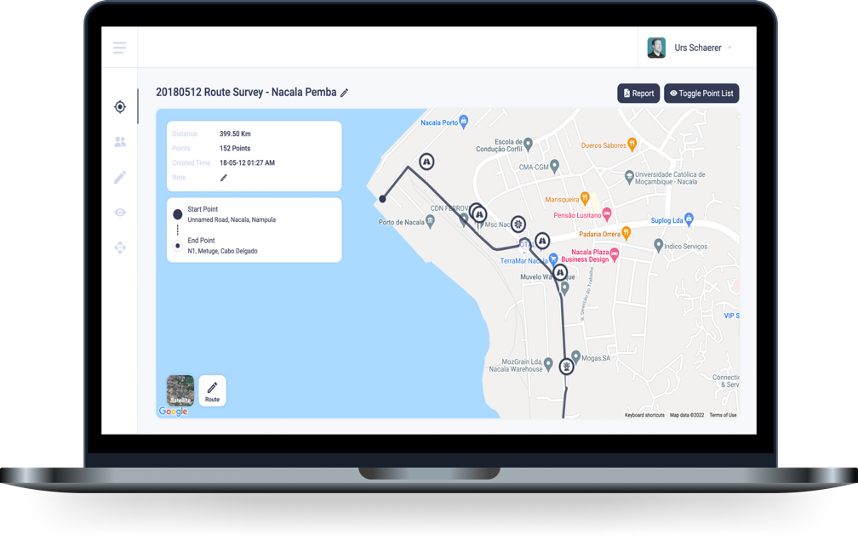
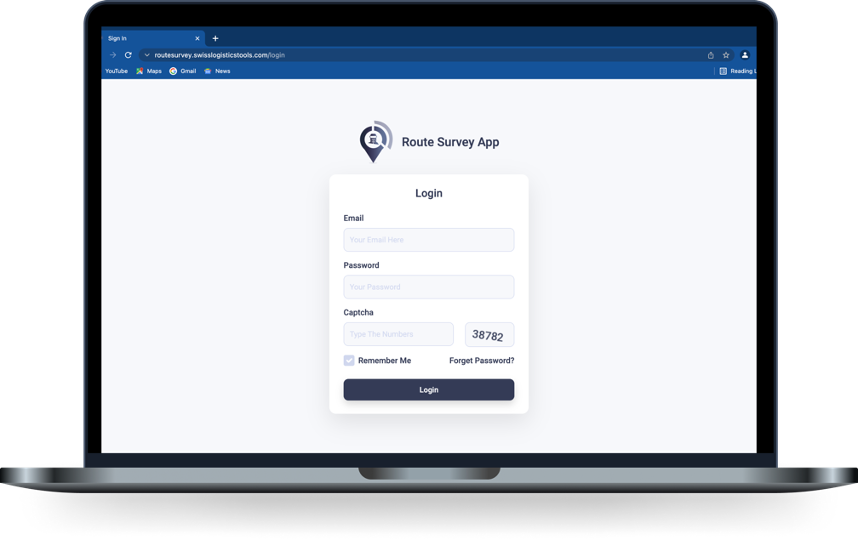
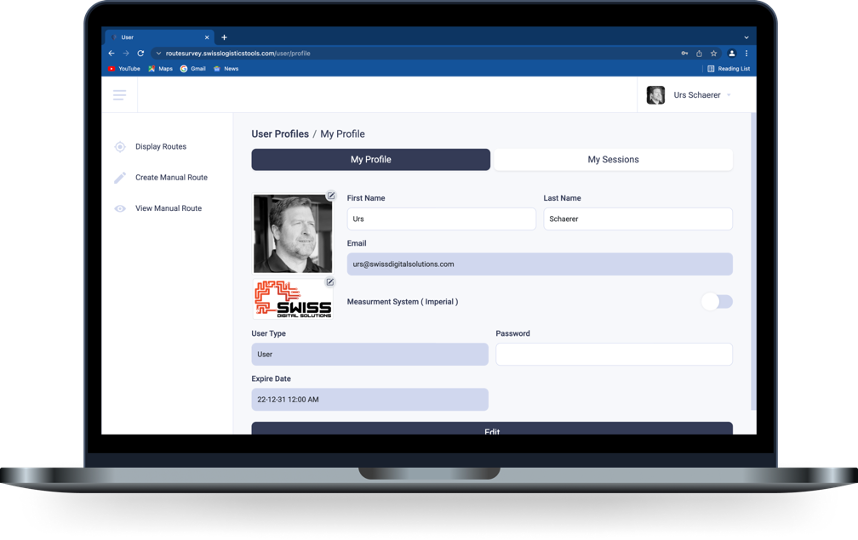
Login to the web application and create the report with custom sections and a company logo to make it unique without losing the benefit of automation for your reports or google earth export.
Produce and Shine
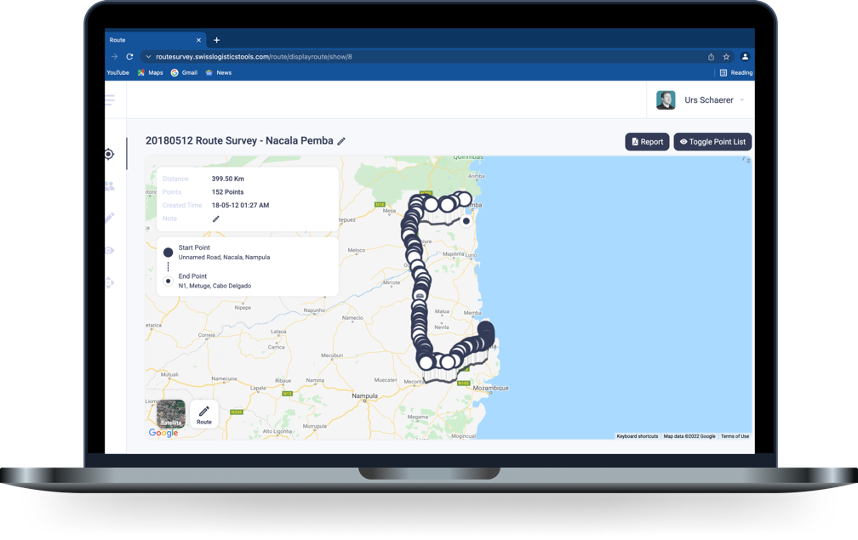
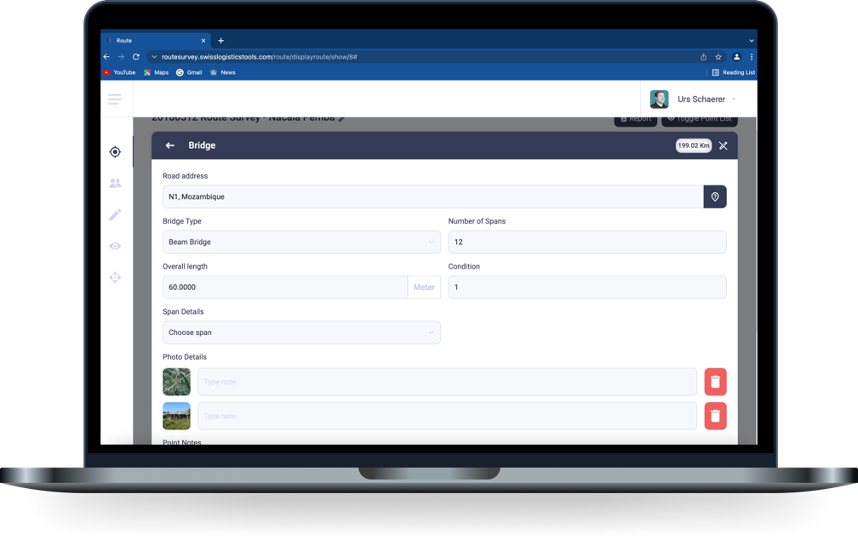
Create a perfect automated report that looks great every time with full integration of maps, IoT, and your images. Present your impressive work on google earth with complete data and image integration.